Configure Rsync in Oracle_Enterprise_Linux6.8
Rsync is a utility for efficiently transferring and synchronizing files between a computer and an external hard drive and across networked computers by comparing the modification times and sizes of files.
Transferring and synchronizing files between two machines in same network.
Let suppose we have two servers DB_SRV -192.168.32.128 and APP_SRV -192.168.32.131
Objective - Transferring and synchronizing a directory or files from APP-SRV to DB_SRV.
It will ask for user password while transferring or synchronizing from one to another server and with different user i.e. (root-oracle, oracle-weblogic, and weblogic-root).
But if we want to transfer files without entering the password we will have to configure SSH key pair and sshpass utility on both servers.
BASIC SYNTAX FOR RSYNC
Rsync [‘options’] [‘source-directory’] [‘@Target Host:/Target-directory’]
Options used for rsync(common options only)
-v, –verbose Verbose output
-q, –quiet suppress message output
-a, –archive archive mode allows copying files recursively and it also preserves symbolic links, file
-r, –recursive sync files and directories recursively
-b, –backup take the backup during synchronization
-u, –update don’t copy the files from source to destination if destination files are newer
-l, –links copy symlinks as symlinks during the sync
-n, –dry-run perform a trial run without synchronization
-e, –rsh=COMMAND mention the remote shell to use in rsync
-z, –compress compress file data during the transfer
-h, –human-readable display the output numbers in a human-readable format
–progress show the sync progress during transfer
-d: indicates change in destination file
-f: indicates a file
-t: indicates change in timestamps
-s: indicates change in size
Syntax example - (rsync -a /u01/Rsync_Test/*.pdf @192.168.32.128: /u01/Rsync_Test/)
STEP1- TO CONFIGURE RSYNC IN OLE6.8
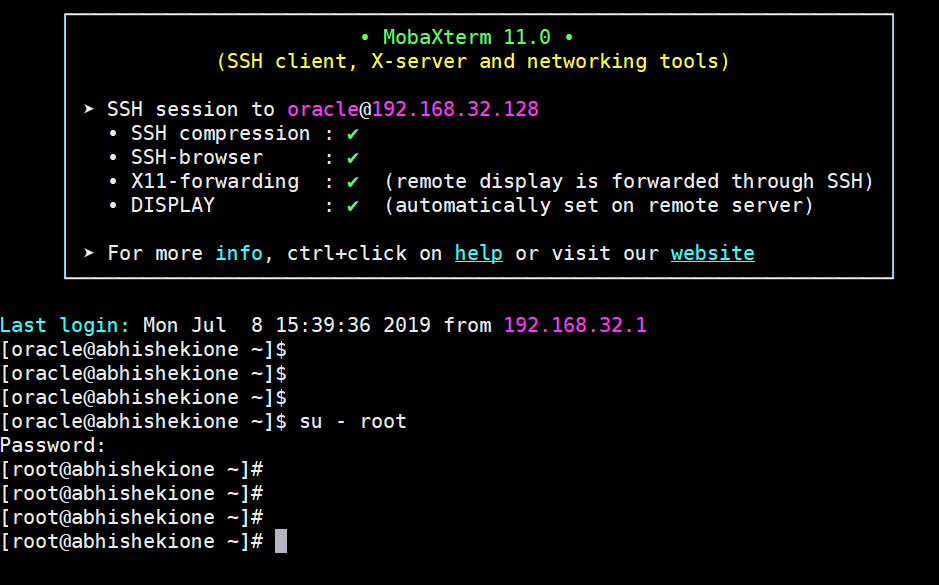
Login server using root user /or/ Switch user to root.
To install rsync type –
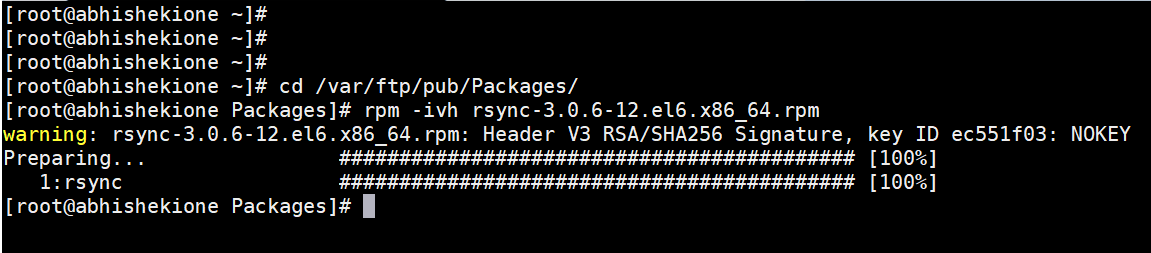
Go to Packages directory it will mostly found in /media
Type below command
rpm -ivh rsync-3.0.6-12.el6.x86_64.rpm then Press Enter.
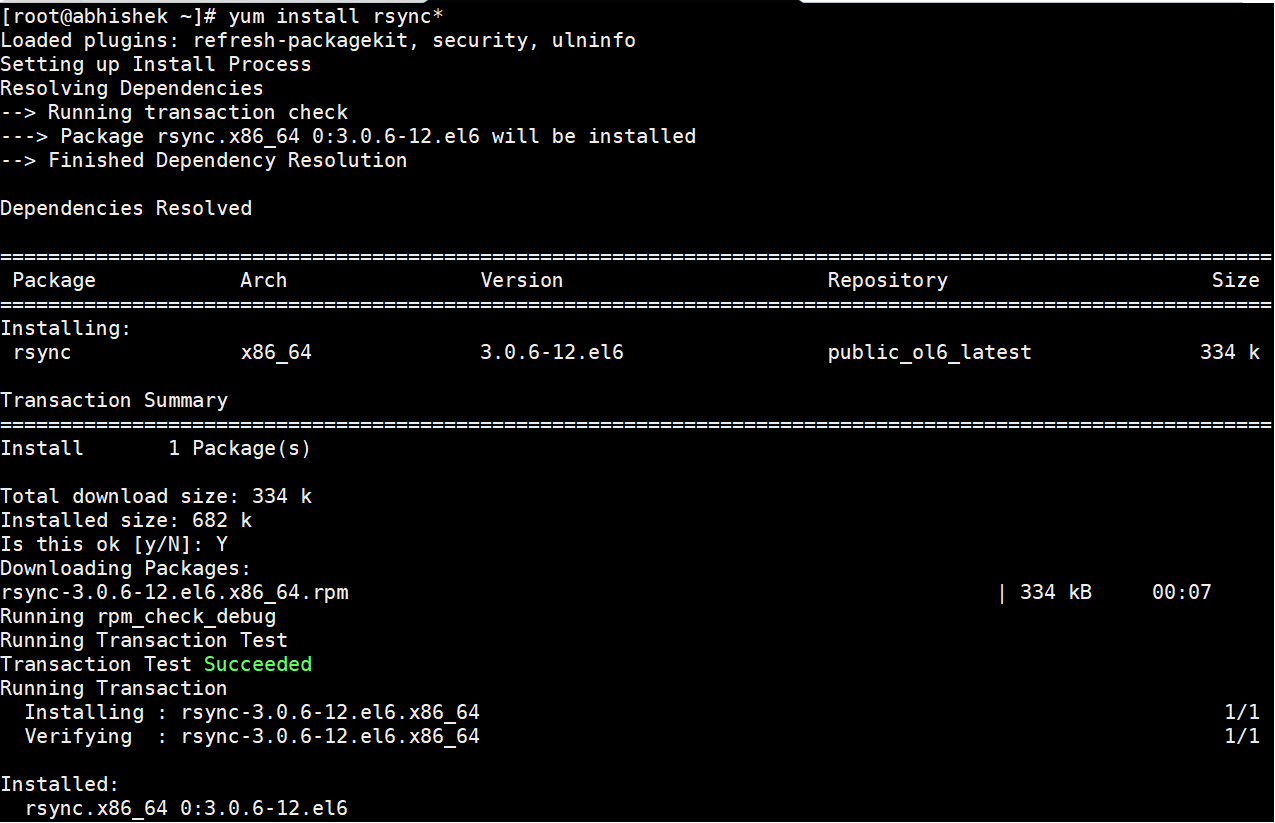
Then type below command and press enter to install required package for rsync
Yum install rsync*
Step2- Create Directory and Give Permission on Both Servers.
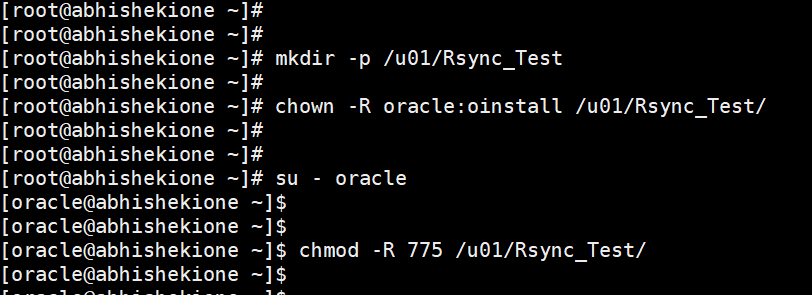
So As per Requirements we have to transfer files inside Rsync_Test of App-Server to DB-server.
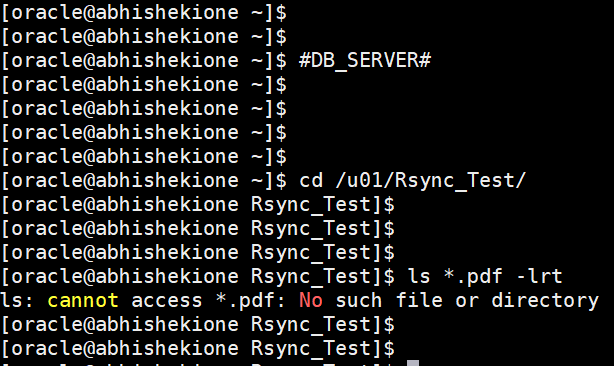
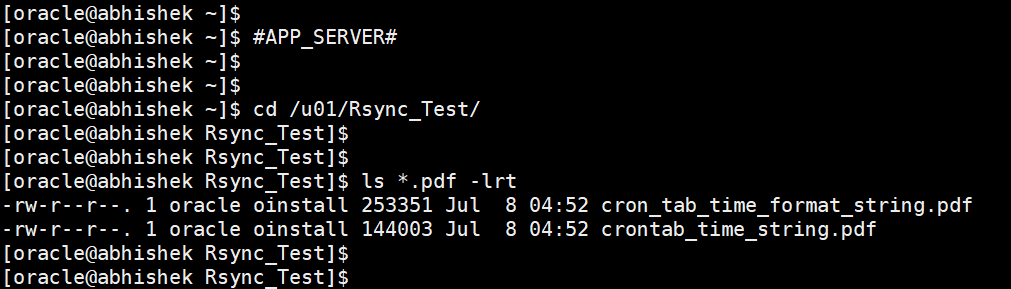
Check files inside Rsync_Test directory of application server and database server.
DB-SERVER (192.168.32.128)
APPLICATION-SERVER (192.168.32.131)
Step3- Type below command to transfer the files from one to another server.
Run below command on app-server (192.168.32.131)
rsync -a /u01/Rsync_Test/*.pdf oracle@192.168.32.128:/u01/Rsync_Test/

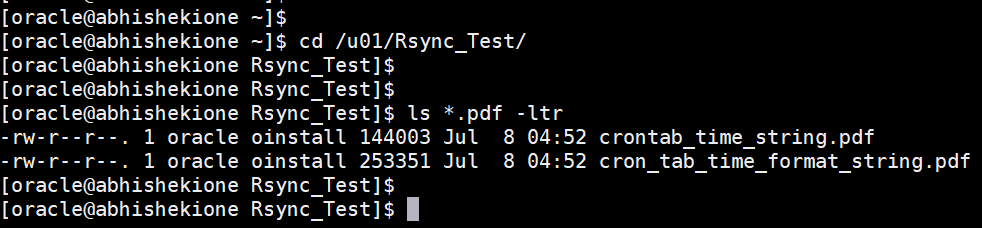
Check weather file has been transferred or not..??
DB-SRV (192.168.32.128)
Now we can use the files as per our requirement it was done for test purpose.
Case-(app-srv to db-srv) – (oracle-oracle)—(with password)
Acctual case : -app-srv to db-srv – (weblogic-oracle)
Step4-Configure SSH to transfer file without entering password on both servers.
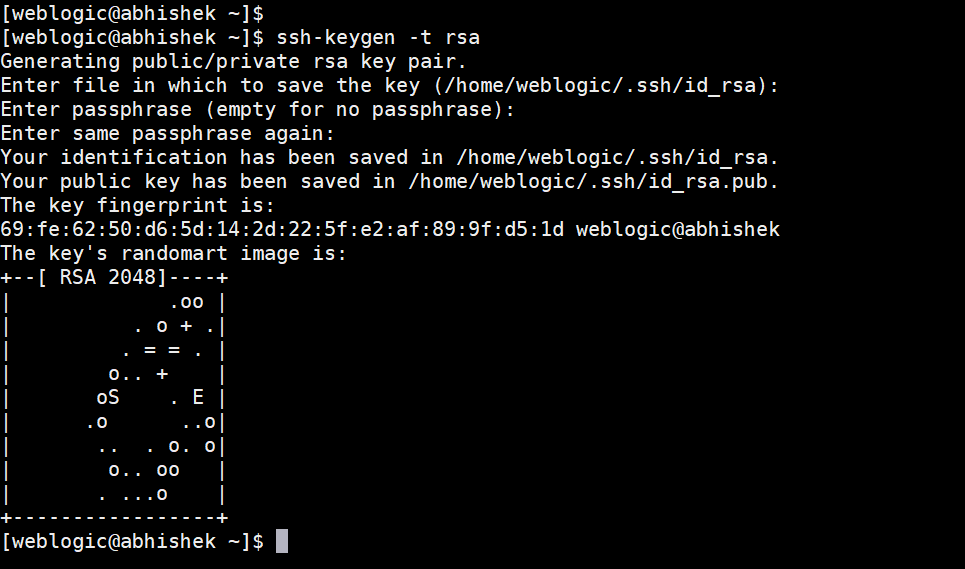
Generate SSH public key on both servers.
Copy generated key to Target server (where we want to copy)
In this case app-srv is source server (192.168.32.131) and db-srv is target server (192.168.32.128).
Use below command to copy the generated key to target server.
ssh-copy-id -i /home/weblogic/.ssh/id_rsa.pub oracle@192.168.32.128
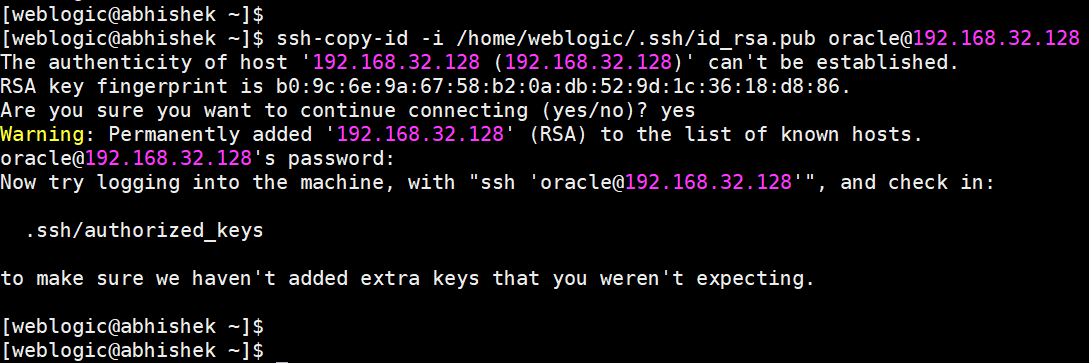
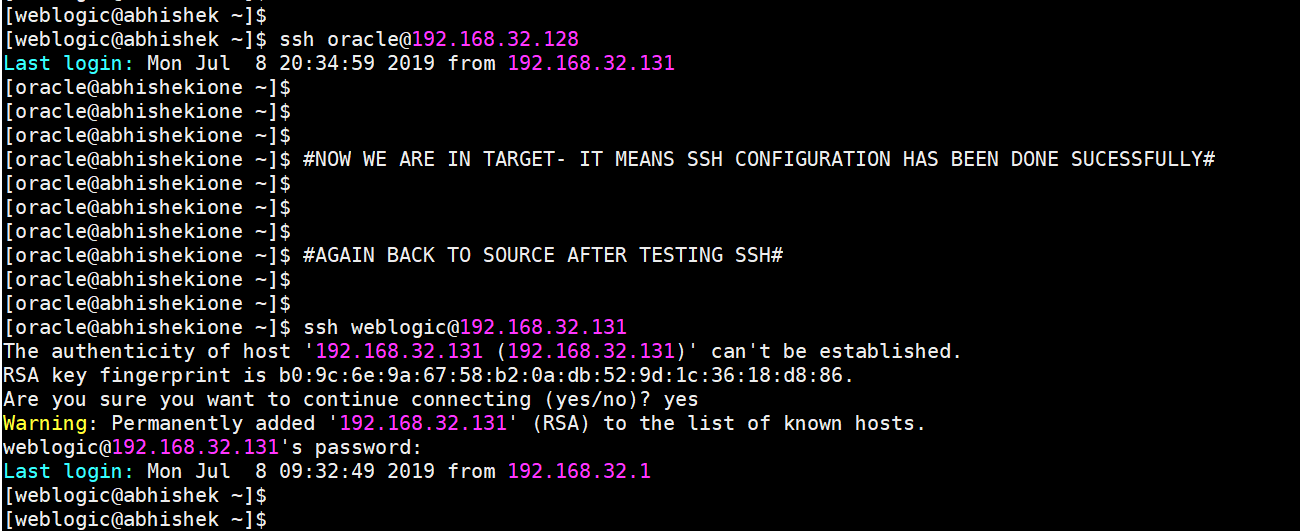
Confirm Ssh key has been configured by using below command.
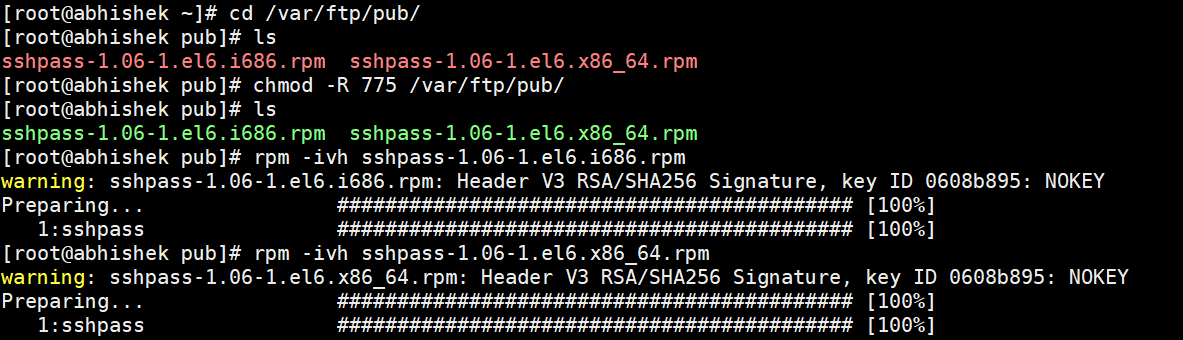
Now to bypass the password will use SshPass utility to pass the password
Download rpm packages sshpass-1.06-1.el6.x86_64.rpm and install it on both servers.
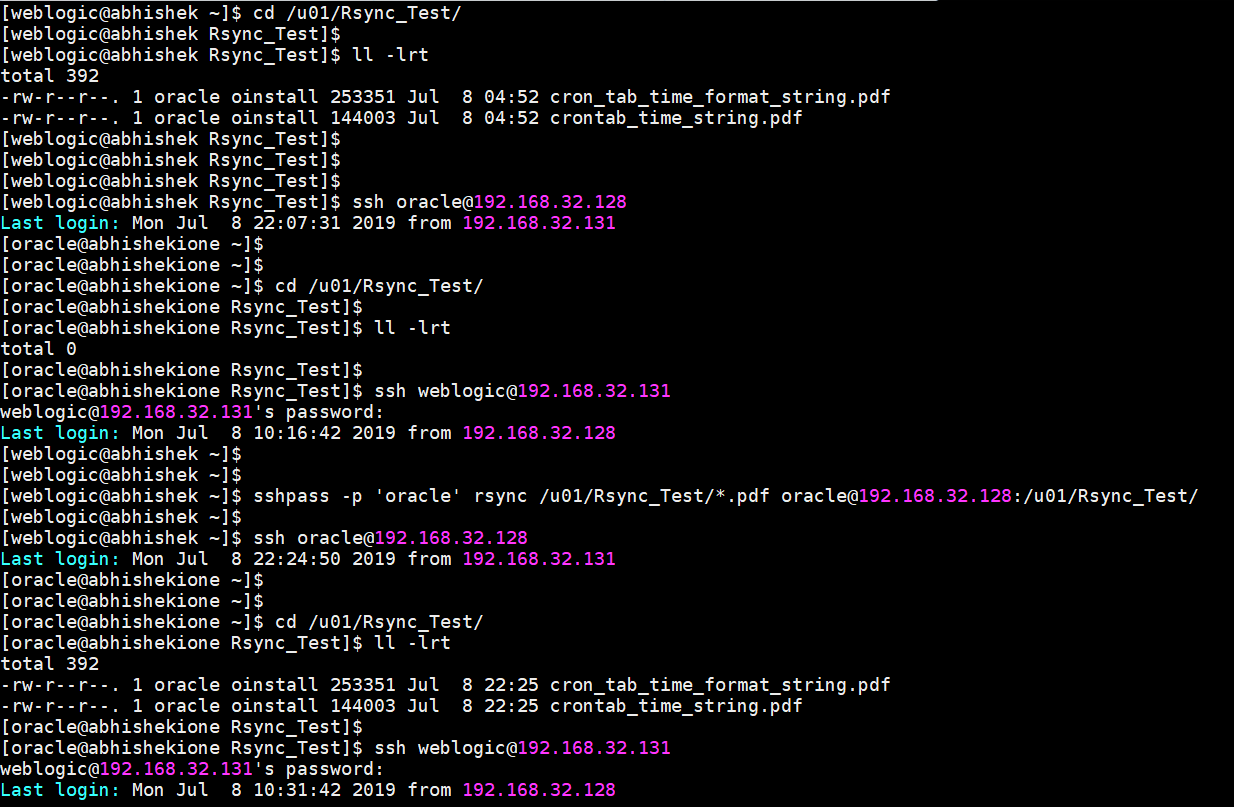
FINAL – Syntax to Transfer File to Target Server from Source Server Using Rsync with Sshpass without Entering Password
Run below Command on source server (app-srv) to transfer the file on target server (db-srv).
sshpass -p 'oracle' rsync /u01/Rsync_Test/*.pdf oracle@192.168.32.128:/u01/Rsync_Test/
THE END
Created by - Abhishek Jha


